


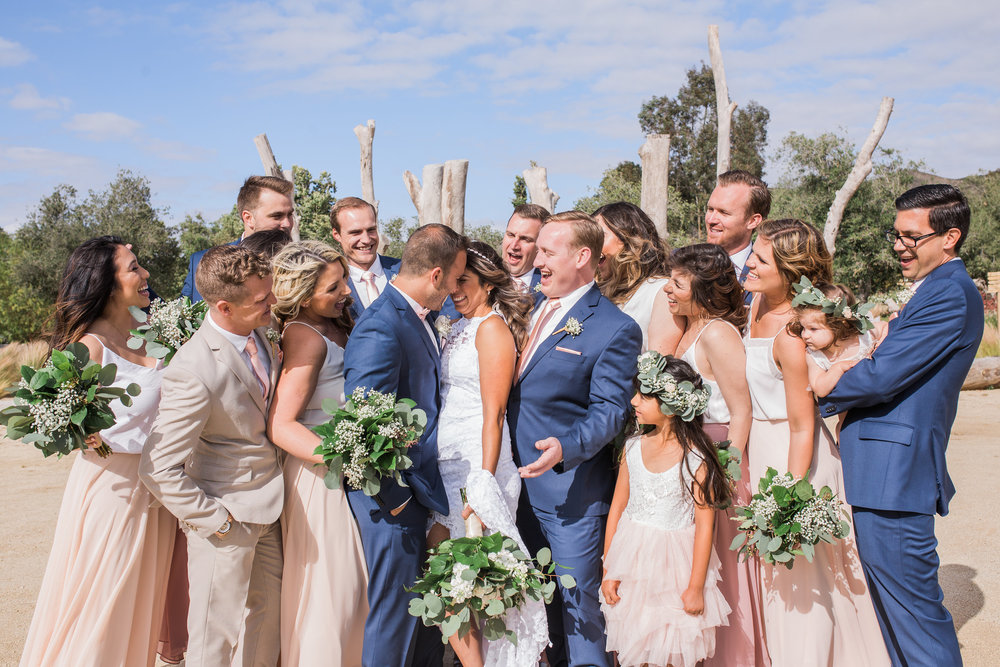
As a wedding photographer that shoots mostly in Southern California I am use to people assuming we have beautiful dreamy light to work with all year round. The truth is when it comes to lighting, wedding days are totally against us as wedding photographers. Especially in sunny California where we don’t get a lot of overcast days but we deal with a lot of harsh and intense sun. I love when my couples do a first look so they can do their photos early in the day when they are fresh and then later they can enjoy cocktail hour with their guest. However, when you do a lot of first looks like I do that means you will be shooting the wedding party and family formals before ceremony, which is almost always in the harsh afternoon sun.
If your style is anything like mine, then you’re looking for soft natural skin tones in your images and you want every single image to seem like it’s been taken in that beautiful creamy lighting. The reality is most wedding days don’t allow for us to shoot in perfect light.
So how do I handle that harsh mid day cali sunshine? Especially in the summer when it feels like the sun is never going to set?
First, the best way you can properly expose skin tones in a harsh lighting is by putting your camera in manual mode. You need to have full control of your settings and be able to meter and adjust as needed to make sure your subjects are properly exposed. If you have not had the chance to dive in to working in manual mode this is a great time to jump in!!
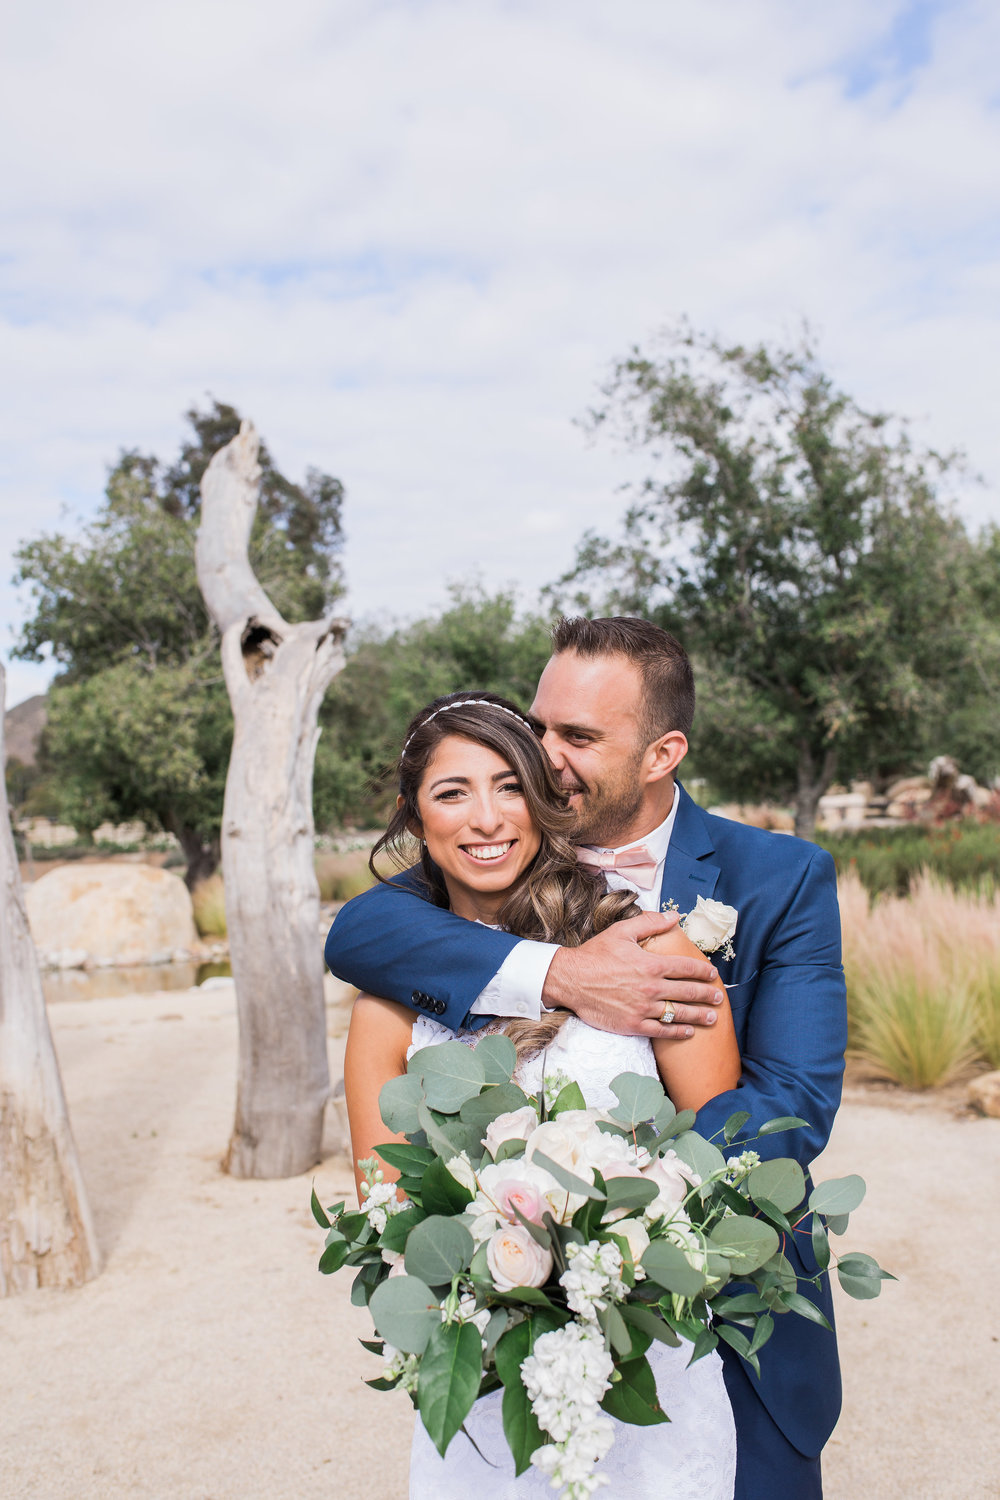
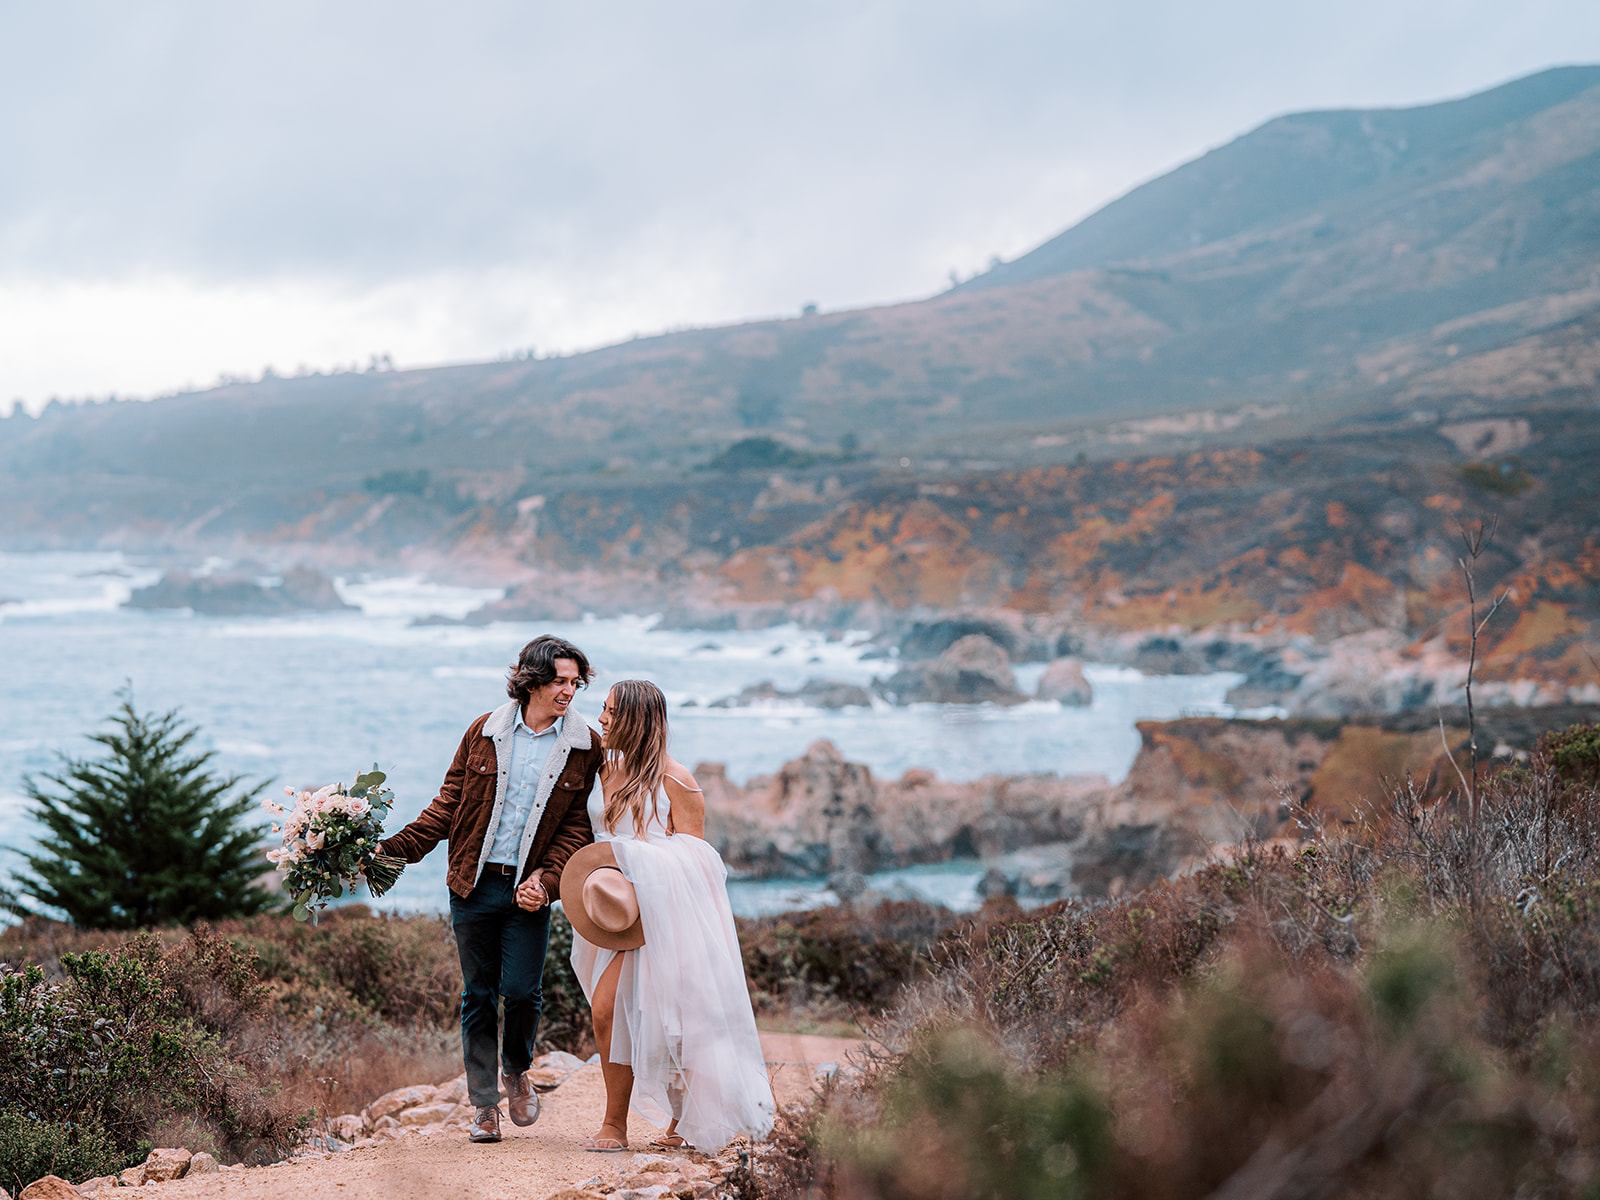
Harsh sunlight is undesirable because it creates harsh lines and shadows on your subjects faces. One of my goals is to make sure my subjects have a soft skin tones. One thing you can do to help achieve this look is to shoot “wide open” typically I shoot between 2.2 and 2.8 in harsh sunlight to soften the skin tones. However, I only recommend this method if you have practiced shooting wide open enough that you can nail your focus. It is very easy to miss focus when shooting wide open.
In order to create a soft, pleasing skin tone, you will need to expose properly for the skin. I have found the best solution to this is to shoot film! If you are shooting film you can meter for the shadows and with film you won’t blow your highlights!! My favorite film stock for harsh mid day sun is Portra 160. It does wonders for skin tones and looks amazing in direct sunlight. You can overexpose this film stock and rate it at 100 but I rate it at 160 and love the results.
If you are shooting digital then I would suggest spot metering.
With spot metering, your light meter will expose for the small area in the center of the frame instead of trying to expose for the entire photo.
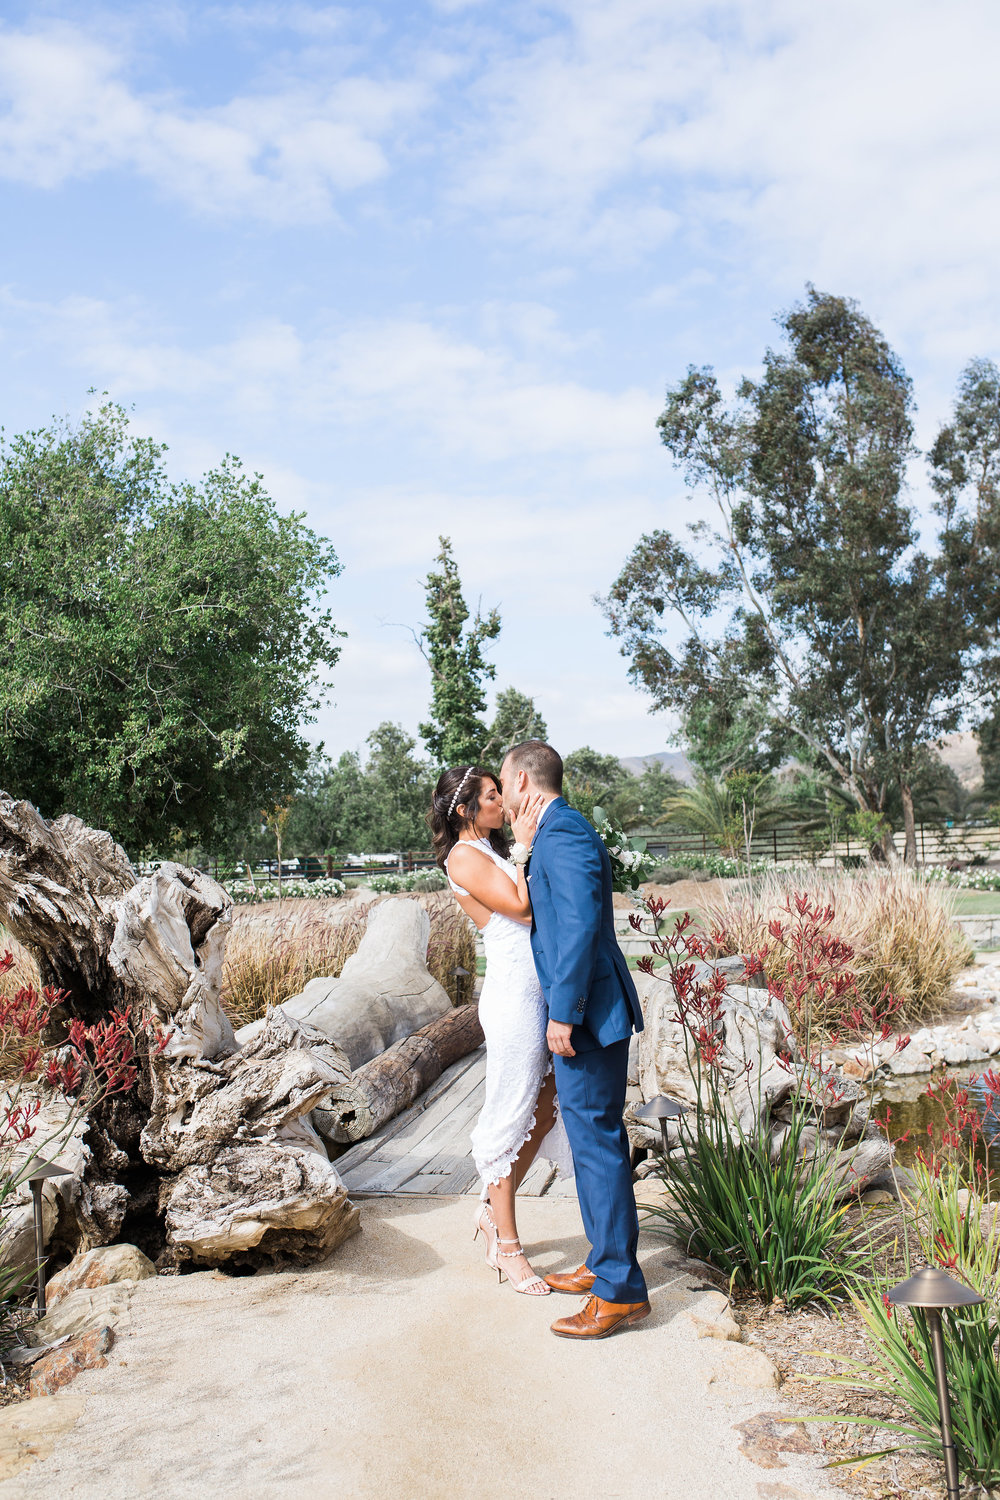
So now that your camera is in manual, and you can shoot wide open and you have metered correctly then it is time to make sure your subject is facing in the best direction. The best thing to do is to put their backs at an angle to the sun so that they have shade on their faces. Usually if your subject can look down and see their shadow in front of them your doing well. You want to avoid raccoon eyes or highlights on their face.
Another option is to look for any open shade you can find. I will usually walk a venue few weeks before the around the time I will be shooting to see if I can find any buildings, trees, or other structures that may provide some open shade.
Once you have all your camera settings, film stock and location figured out the last hitting you can do is use posing that helps create shade.
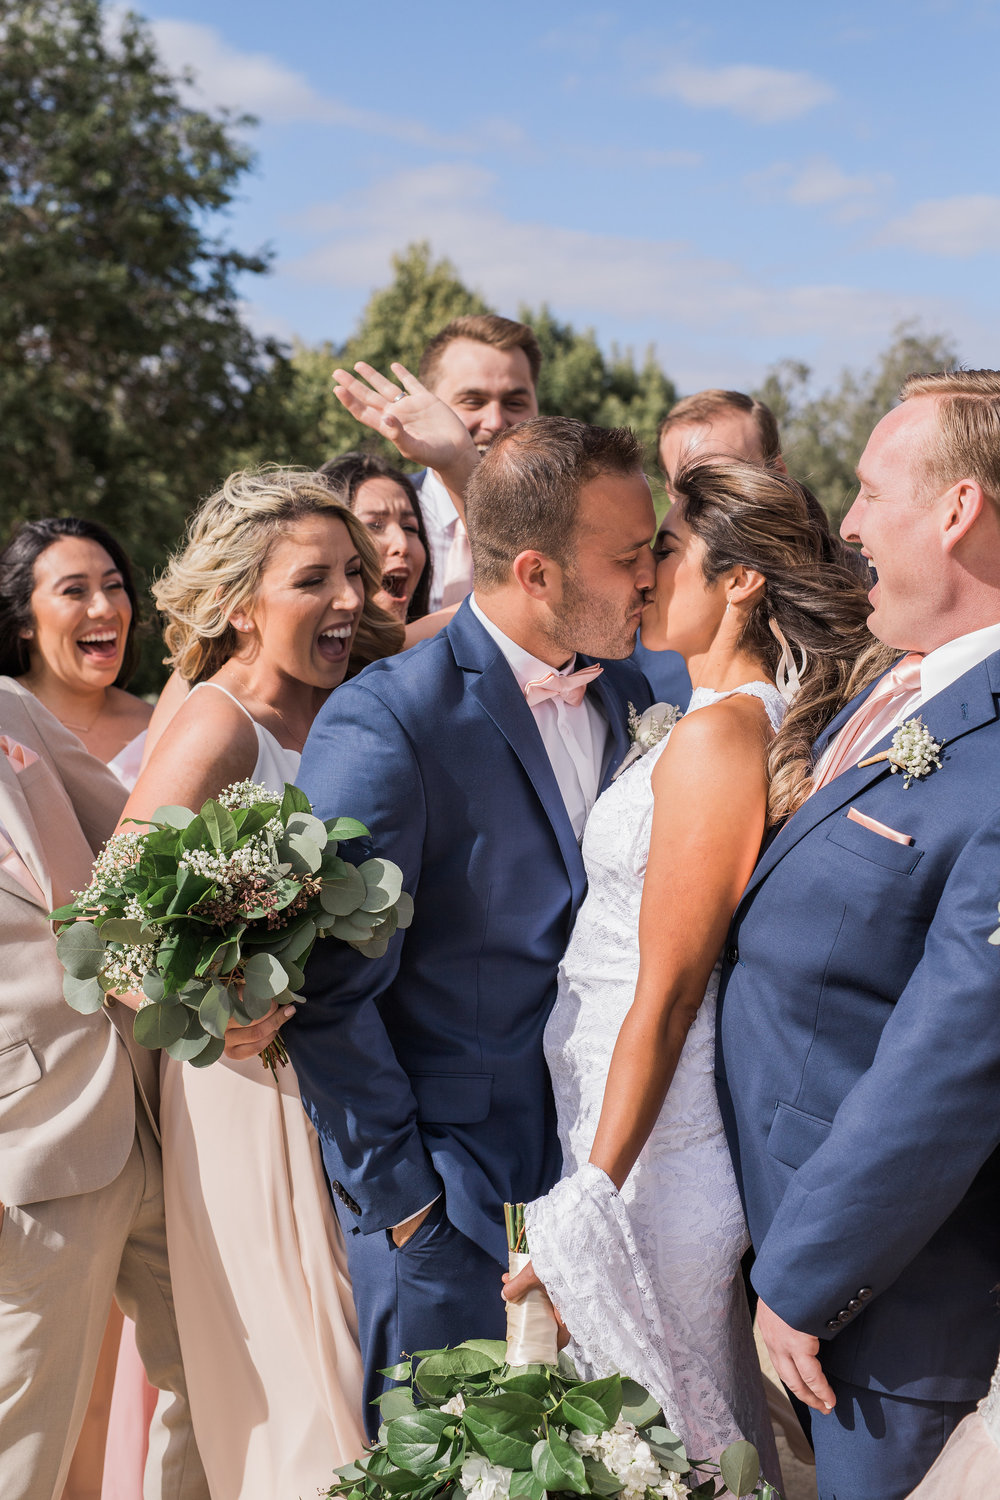
On of my favorite things to do is to have the couple nuzzle into each other to block the sun from each other’s faces. I will also use the groom’s head to shade the bride’s face. Any pose when the couple doesn’t look at the camera will help with under eye shadows. And of course, if you have an amazing assistant as I do you can have them hold ups diffuser for close up shots.
I hope these tips will help you better navigate that harsh mid day sun and maybe even start to embrace it. If you want to learn more, or your like me and you learn better hands on feel free to reach out for our workshops and one on one mentoring sessions.


")


